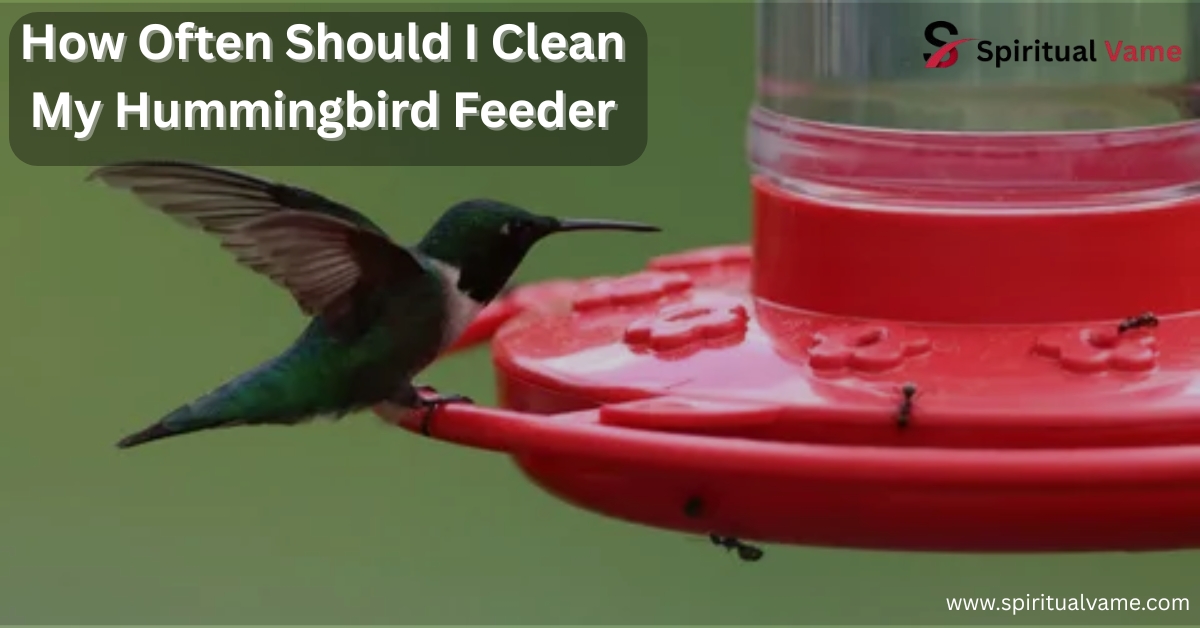
How often should I clean my hummingbird feeder? It’s a question many bird lovers ask, especially during hot summer days. Hummingbirds are tiny, fast, and full of energy—and they depend on us for clean, safe nectar. A dirty feeder can grow mold, bacteria, and fungus that can harm or even kill them. That’s why knowing how often should I clean my hummingbird feeder really matters.
The answer depends on the weather. In hot or humid conditions, you should clean it every day or two. Cooler weather may allow up to five days. Either way, regular cleaning keeps your feeder safe. So if you’re wondering how often should I clean my hummingbird feeder, now you know—it’s often!
How to Clean A Hummingbird Feeder
Keeping your hummingbird feeder clean is crucial for the health and safety of these delicate birds. Regular cleaning prevents the growth of harmful mold and bacteria that can contaminate the nectar and pose serious health risks to hummingbirds. A clean feeder ensures that the nectar remains fresh and inviting, encouraging hummingbirds to return to your garden.
To clean your feeder, start by disassembling all parts, including the base, reservoir, and feeding ports. Soak the components in a solution of hot water and mild dish soap or a mixture of one part vinegar to two parts water. Use a bottle brush or an old toothbrush to scrub away any residue, paying special attention to the feeding ports and other small openings. Rinse thoroughly with clean water to remove any soap or vinegar traces, and allow the parts to air dry completely before refilling with fresh nectar.
Why is A Clean Hummingbird Feeder Important
A clean hummingbird feeder is essential to prevent the growth of mold, bacteria, and fermentation, all of which can be harmful or even fatal to hummingbirds. Contaminated nectar can lead to digestive issues, infections, and diseases in these birds. Regular cleaning helps maintain the purity and clarity of the nectar, ensuring it remains a safe and reliable food source.
Moreover, a dirty feeder can deter hummingbirds from visiting your garden. These birds have a keen sense of smell and can detect spoiled nectar, leading them to seek alternative feeding sources. By maintaining a clean feeder, you not only protect the health of the hummingbirds but also encourage their continued presence in your backyard
What You Need
To effectively clean your hummingbird feeder, gather the following supplies: a bottle brush or old toothbrush for scrubbing, mild dish soap or white vinegar for cleaning, and clean water for rinsing. Optional items include rice, which can help scrub hard-to-reach areas, and a soft cloth for drying. Ensure all cleaning tools are dedicated solely to feeder maintenance to avoid cross-contamination.
Using the right tools and cleaning agents is vital for thorough sanitation. Avoid using harsh chemicals or scented soaps, as residues can be harmful to hummingbirds. Stick to natural cleaning solutions like vinegar or mild, unscented dish soap to ensure the safety and health of your feathered visitors.
Step One- Empty the Feeder
Begin the cleaning process by emptying any remaining nectar from the feeder. Discard the old nectar, as it can spoil quickly, especially in warm weather, leading to fermentation and bacterial growth. Rinse the feeder with warm water to remove any residual nectar before proceeding to disassemble the parts for a thorough cleaning.
Step Two-Take Apart the Feeder
Disassemble the feeder completely to access all components, including the base, reservoir, feeding ports, and any removable parts. This step is crucial for reaching areas where mold and residue can accumulate. Carefully separate each part, taking note of how they fit together to ensure proper reassembly after cleaning.
Step Three- Soak the Feeder
Prepare a cleaning solution by mixing hot water with mild dish soap or a vinegar solution (one part vinegar to two parts water). Place all disassembled parts into the solution and allow them to soak for at least 15-30 minutes. Soaking helps loosen any stubborn residue, making it easier to scrub away during the next step.
Step Four: Scrub the Feeder
After soaking, use a bottle brush or old toothbrush to scrub each component thoroughly. Pay special attention to the feeding ports and any narrow openings where mold and residue can accumulate. For hard-to-reach areas, adding a small amount of rice with water and shaking the feeder can help dislodge debris. Ensure all surfaces are clean and free from any buildup before proceeding to rinse.
Step Five- Rinse the Feeder
Rinse all parts of the feeder thoroughly with clean water to remove any soap or vinegar residue. It’s essential to eliminate all cleaning agents, as even small traces can be harmful to hummingbirds. Continue rinsing until the water runs clear, indicating that all residues have been removed.
Step Six-Dry the Feeder
Allow all components of the feeder to air dry completely before reassembling. Drying prevents moisture from promoting mold growth and ensures that the nectar remains uncontaminated. Place the parts on a clean, dry surface or towel in a well-ventilated area to facilitate the drying process.
How Often Should You Clean A Hummingbird Feeder
The frequency of cleaning your hummingbird feeder depends on various factors, including temperature, humidity, and the number of birds visiting. In hot and humid weather, it’s recommended to clean the feeder every 2-3 days to prevent nectar spoilage and bacterial growth. During cooler periods, cleaning once a week may suffice. Regular inspection for signs of mold, cloudiness, or fermentation can help determine when cleaning is necessary.
Other Cleaning Methods
Alternative cleaning methods include using a bleach solution (one part bleach to nine parts water) for deep cleaning. After soaking the feeder in the solution, rinse thoroughly with clean water to remove all bleach residues. This method is effective in eliminating stubborn mold and bacteria but should be used sparingly to avoid potential harm to hummingbirds.
Another method involves using a vinegar solution (one part vinegar to two parts water) as a natural disinfectant. Soaking the feeder in this solution can help remove residue and prevent mold growth. Always ensure thorough rinsing after using any cleaning solution to maintain the safety of the nectar.
Selecting a feeder with a simple design can make the cleaning process more manageable. Look for feeders with wide openings, detachable parts, and smooth surfaces that are easy to scrub. Glass feeders are often preferred over plastic ones, as they are less prone to scratching and easier to clean. Investing in a feeder that is easy to disassemble and clean can save time and ensure the health of your hummingbird visitors.
Should You Change Your Hummingbird Feeder Often
Yes, changing the nectar in your hummingbird feeder regularly is essential to prevent spoilage and contamination. In warm weather, nectar can ferment quickly, leading to the growth of harmful bacteria and mold. It’s advisable to replace the nectar every 2-3 days during hot periods and at least once a week during cooler weather. Regularly changing the nectar ensures that hummingbirds have access to fresh, safe food.
How frequently should I swap out hummingbird nectar
The frequency of changing hummingbird nectar depends on environmental conditions. In high temperatures and humidity, nectar can spoil rapidly, necessitating changes every 1-2 days. In milder climates, changing the nectar every 3-5 days may be sufficient. Always monitor the nectar for signs of cloudiness, sour smell, or floating debris, which indicate spoilage and the need for immediate replacement.
Hummingbird Nectar Shelf Life
Homemade hummingbird nectar, typically made with a ratio of one part sugar to four parts water, has a limited shelf life. In hot weather, the nectar can spoil within 24-48 hours, while in cooler temperatures, it may last up to a week. To extend the shelf life, store unused nectar in the refrigerator for up to two weeks. Always ensure the nectar is at room temperature before refilling the feeder to avoid harming the birds.
How to Clean Hummingbird Feeders
Regular cleaning of hummingbird feeders is vital to prevent the growth of mold and bacteria. Use a solution of hot water and mild dish soap or vinegar to soak and scrub the feeder components. Pay special attention to the feeding ports and other small openings where residue can accumulate. Rinse thoroughly with clean water and allow the parts to air dry completely before refilling with fresh nectar.
How to Attract Hummingbirds
To attract hummingbirds to your garden, provide a consistent source of fresh nectar by maintaining clean feeders. Plant native flowering plants that produce nectar, such as trumpet vine, bee balm, and salvia, to offer natural food sources. Avoid using red dye in nectar, as it can be harmful to hummingbirds. Instead, opt for feeders with red accents to attract the birds naturally.
How to Make Your Own Hummingbird Nectar
Creating homemade hummingbird nectar is simple and cost-effective. Mix one part white granulated sugar with four parts water, stirring until the sugar dissolves completely. Boil the mixture for 1-2 minutes to kill any potential bacteria, then allow it to cool before filling the feeder. Store any unused nectar in the refrigerator for up to two weeks. Avoid using honey, artificial sweeteners
Step Six: Dry the Feeder
Once you’ve rinsed every part of the feeder thoroughly, drying comes next—and it’s just as important as any other step. Never reassemble or refill the feeder while it’s still wet, especially if there’s moisture trapped in tight spots like narrow ports, the base, or hidden corners. That leftover water can encourage mold, bacteria, and fermentation, which will spoil your nectar quickly and harm the hummingbirds.
Place all the parts on a clean towel in a well-ventilated area, preferably under a fan or in filtered sunlight, but not in extreme heat. Make sure there’s no remaining residue, no trapped droplets, and that the reservoir, opening, and even small guards or pieces are completely dry. Once dry, you can reassemble the feeder and refill it with fresh homemade nectar using the correct ratio of one part sugar to four parts water—no dye or artificial color needed.
How Often Should You Clean A Hummingbird Feeder
Knowing how often you should clean your hummingbird feeder is essential if you want to keep your flying friends safe. During hot summer days, when temperatures soar and humidity rises, you’ll need to clean it daily or every two days. Heat speeds up fermentation, which makes the nectar go sour fast. Spoiled nectar smells bad, looks cloudy, and can lead to digestive issues, fungal infections, or even death for these tiny birds.
In cooler weather, cleaning the feeder every 3 to 5 days might be enough. But always do a quick visual inspection. If you see any floaters, buildup, or even a slight change in smell, it’s time to clean. Regular maintenance not only prevents contamination, but it also encourages more hummingbird activity in your backyard or garden. Think of it like offering a fresh, clean dining table every time they visit.
Other Cleaning Methods
There’s more than one way to get the job done. If you’re short on time or want to switch up your routine, try using uncooked rice with warm water inside the feeder. Shake it well—the grains act as a gentle abrasive, scrubbing away sticky residue from hard-to-reach places. It’s an easy DIY trick when you don’t have a bottle brush nearby.
You can also sterilize the feeder by soaking it in a solution made from one part white vinegar to two parts water, letting it sit for at least an hour before rinsing. For a deeper disinfection, mix one part bleach to nine parts water, but only use this method sparingly and rinse thoroughly. These alternative methods help with bacteria, mold, and general sanitation, making the feeder safer for daily use.
THESE FEEDERS ARE EASY TO CLEAN
Not all feeders are a nightmare to scrub. Some are designed with wide openings, simple parts, and clear glass or plastic, which makes cleaning much easier. Go for feeders with detachable bases, smooth surfaces, and fewer crevices—these prevent debris buildup and allow for a thorough rinsing and drying process.
If you haven’t bought one yet, choose a style that’s both effective and easy to maintain. Avoid antique or complex designs with too many decorations, and say “no” to feeders with yellow accents, which can attract unwanted insects like bees and wasps. The easier it is to clean, the more likely you’ll stick to a good hygiene routine.
Conclusion
Caring for hummingbirds starts with one simple commitment—keeping that feeder clean. It may seem like a small chore, but it has a massive impact on the birds’ health, safety, and even survival. These tiny creatures rely on us to provide nectar that’s not just sweet but also safe, fresh, and free of mold, bacteria, and other harmful contaminants. By making cleaning, rinsing, and drying part of your regular routine, you’re doing more than just feeding them—you’re protecting them.
From choosing the right feeder design to learning the signs of spoilage and understanding proper maintenance, every detail counts. Whether you’re using a homemade nectar recipe, rotating your feeders, or experimenting with DIY tricks like using rice or a toothbrush for scrubbing, your efforts create a safer and more inviting backyard for these magical birds. Stay consistent. Stay aware. And enjoy the joy, wonder, and beauty that hummingbirds bring right to your window.